Design
Design Board
The board will consist of three main objects (other than the camera holder that I will design)
- Weights. The camera holder will need some counter weights so that the whole thing doesnt tip over, this will most likely be done with something like a metal weight or a small bag of sand.
- Camera. The main detection device consisting of a raspberryPi with a camera connected to it, the camera is really small ( 25 × 24 × 11,5 mm ) so there is no need for an extremely big need for the camera holder to be big.
- Whiteboard. The carts will be driving and drawing on the whiteboard.


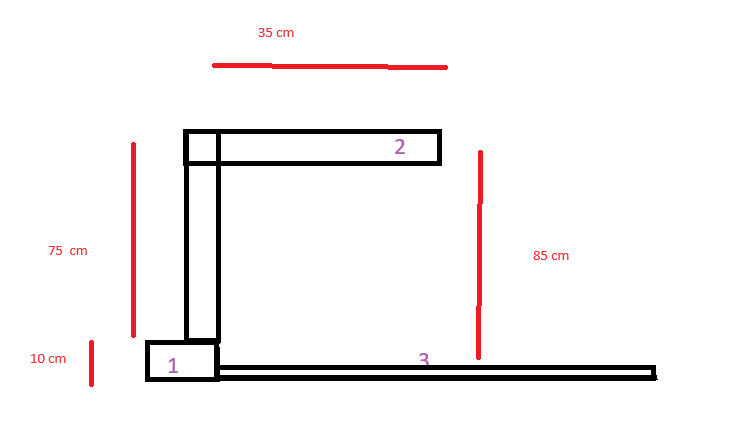
Here's a small sketch of how the board (minus carts) could end up looking like. After holding the camera above a table and looking at how high we have to hold it to get a proper look at the area that we want (2 HVA tables) we realised that the camera needs to be around 75cm in the air. This resulted in the measurements that can be seen in the sketch.
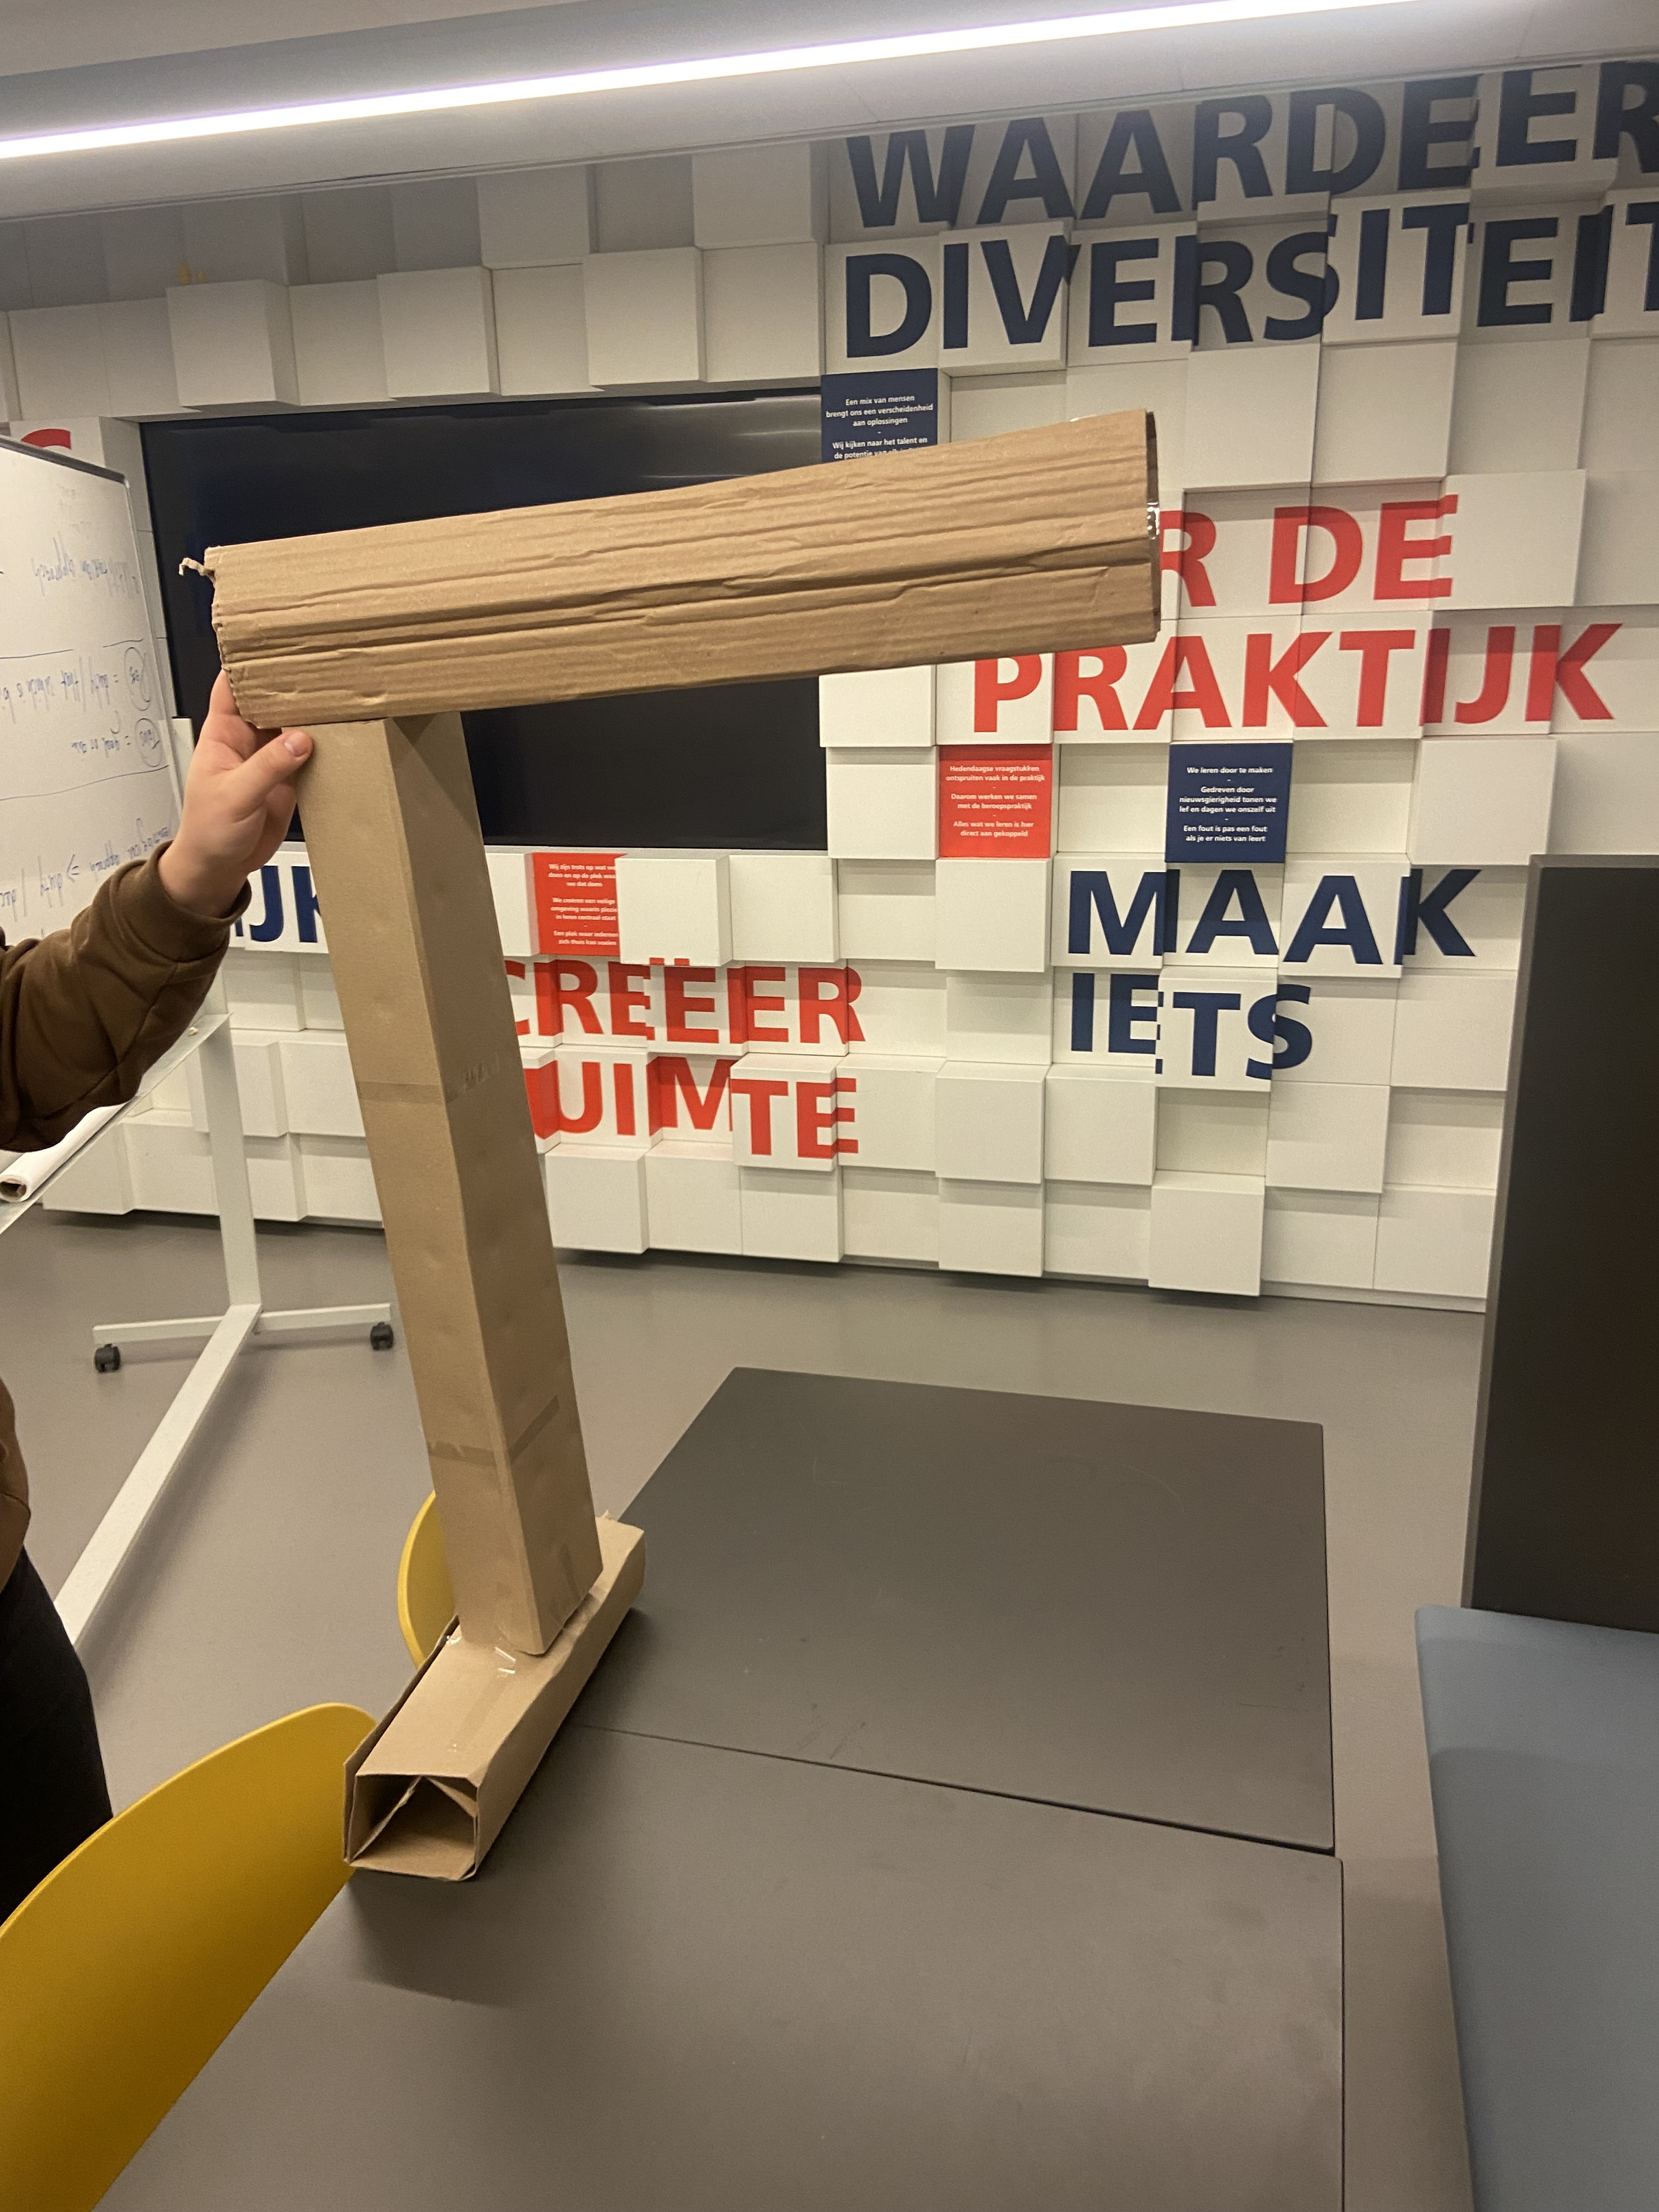
After some more HEAVY paperwork, a paper design has been created to get a proper idea of the scope of the camera holder and how it will end up looking.

Drawing Setup
Materials Used:
-
Medium Density Fiberboard (MDF) sheet (60x120cm): The MDF sheet, sourced from Makerslab HvA, meets the whiteboard foil width which is 60cm. This foundational material serves as the robust base for our drawing surface.
-
Whiteboard foil: A carefully cut whiteboard foil, tailored to match the length of the MDF sheet (120cm), enhances the overall drawing experience. This foil introduces a sleek and smooth texture, elevating the quality of the playing field. It is also possible to remove th drawing and reuse the whole board.
Installation steps:
- Buy MDF sheet of 60x120cm
- Cut the Whiteboard foil to the same size
- Stick the foil to the MDF:
- Do this by using the adhesive side of the foil. Remove the paper that covers the adhesive
and carefully stick the foil to the MDF.

- Test if the colors are detected correctly:
- Draw some random figures on the surface and check if the camera detects the colors which is visible on the laptop.
- Test if the Aruco markers are detected correctly:
- Place the aruco marker on the surface and check on the laptop if the system is detecting the Aruco marker.

