Learning journal mario
Issue 148, How does NGROK work?
NGROK is a reverse proxy software that enables secure and reliable exposure of local development servers, services, and applications to the public internet. Those are some pretty big words but in the scope of this project it's used to make sure devices on different networks can connect to the main python server that we're running.
Setup
Python script
The main goal of the Python server is for the wemos carts, or atleast other devices to connect to it so that the Python server can send commands/ data to them.
1 2 3 4 5 6 7 8 9 10 11 12 13 14 15 16 17 18 19 20 21 22 23 24 25 26 27 28 29 30 31 32 33 34 35 36 37 38 39 40 41 42 43 44 45 46 47 48 49 50 51 52 53 54 55 56 57 58 | |
NGROK software
After installing and opening ngrok youre met with this screen.
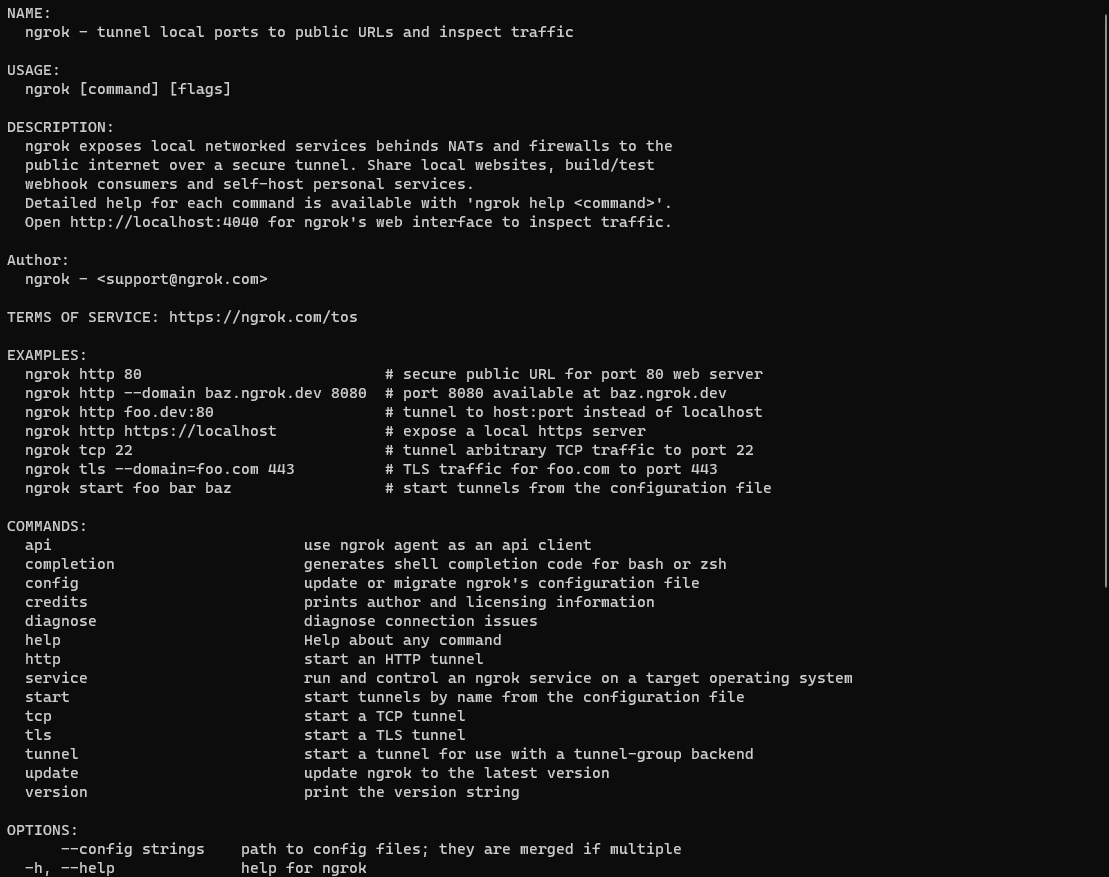 If our python server is correctly running, all we have to do is type
 ngrok http 7890 as 7890 is our port number and that will bring us to this screen.
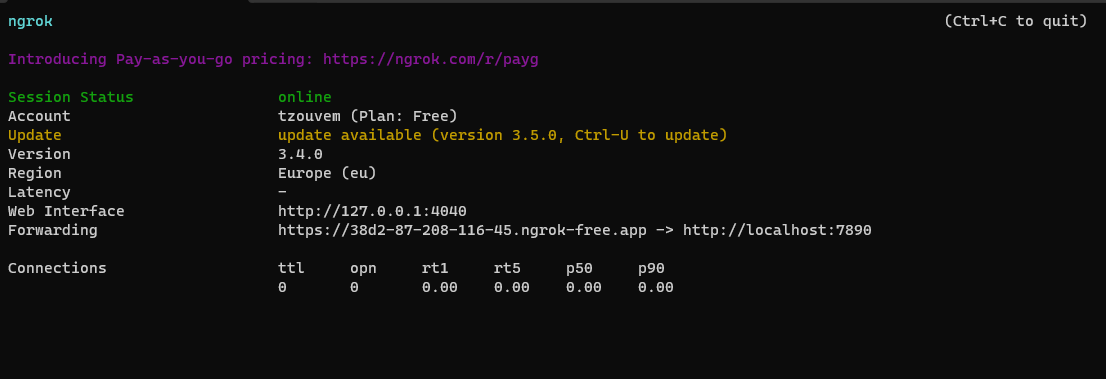
This means that our port is correctly linked to the internet and devices can connect to it on 'https://38d2-87-208-116-45.ngrok-free.app', this link will be change everytime we reboot NGROK. You can also see a lot of info on the server by going to 'http://127.87.0.0.1:4040'. Additional information, like get requests, who tries and fails to connect to the server and more will be displayed in the ngrok application as well.
Issue 298 I want to understand how designing a lasercutting print in openscad works.
I've worked with openScad in the past, however I still dont really understand how it works as it feels a little bit over complicated but let's try! From what I know creating a lasercutting design in openScad takes a lot of manual labor as you need to make the ridges yourself and even making the smallest mistake could lead to your design not fitting into eachother resulting in a lot of wasted wood.
For context, this is the design im Trying to create.
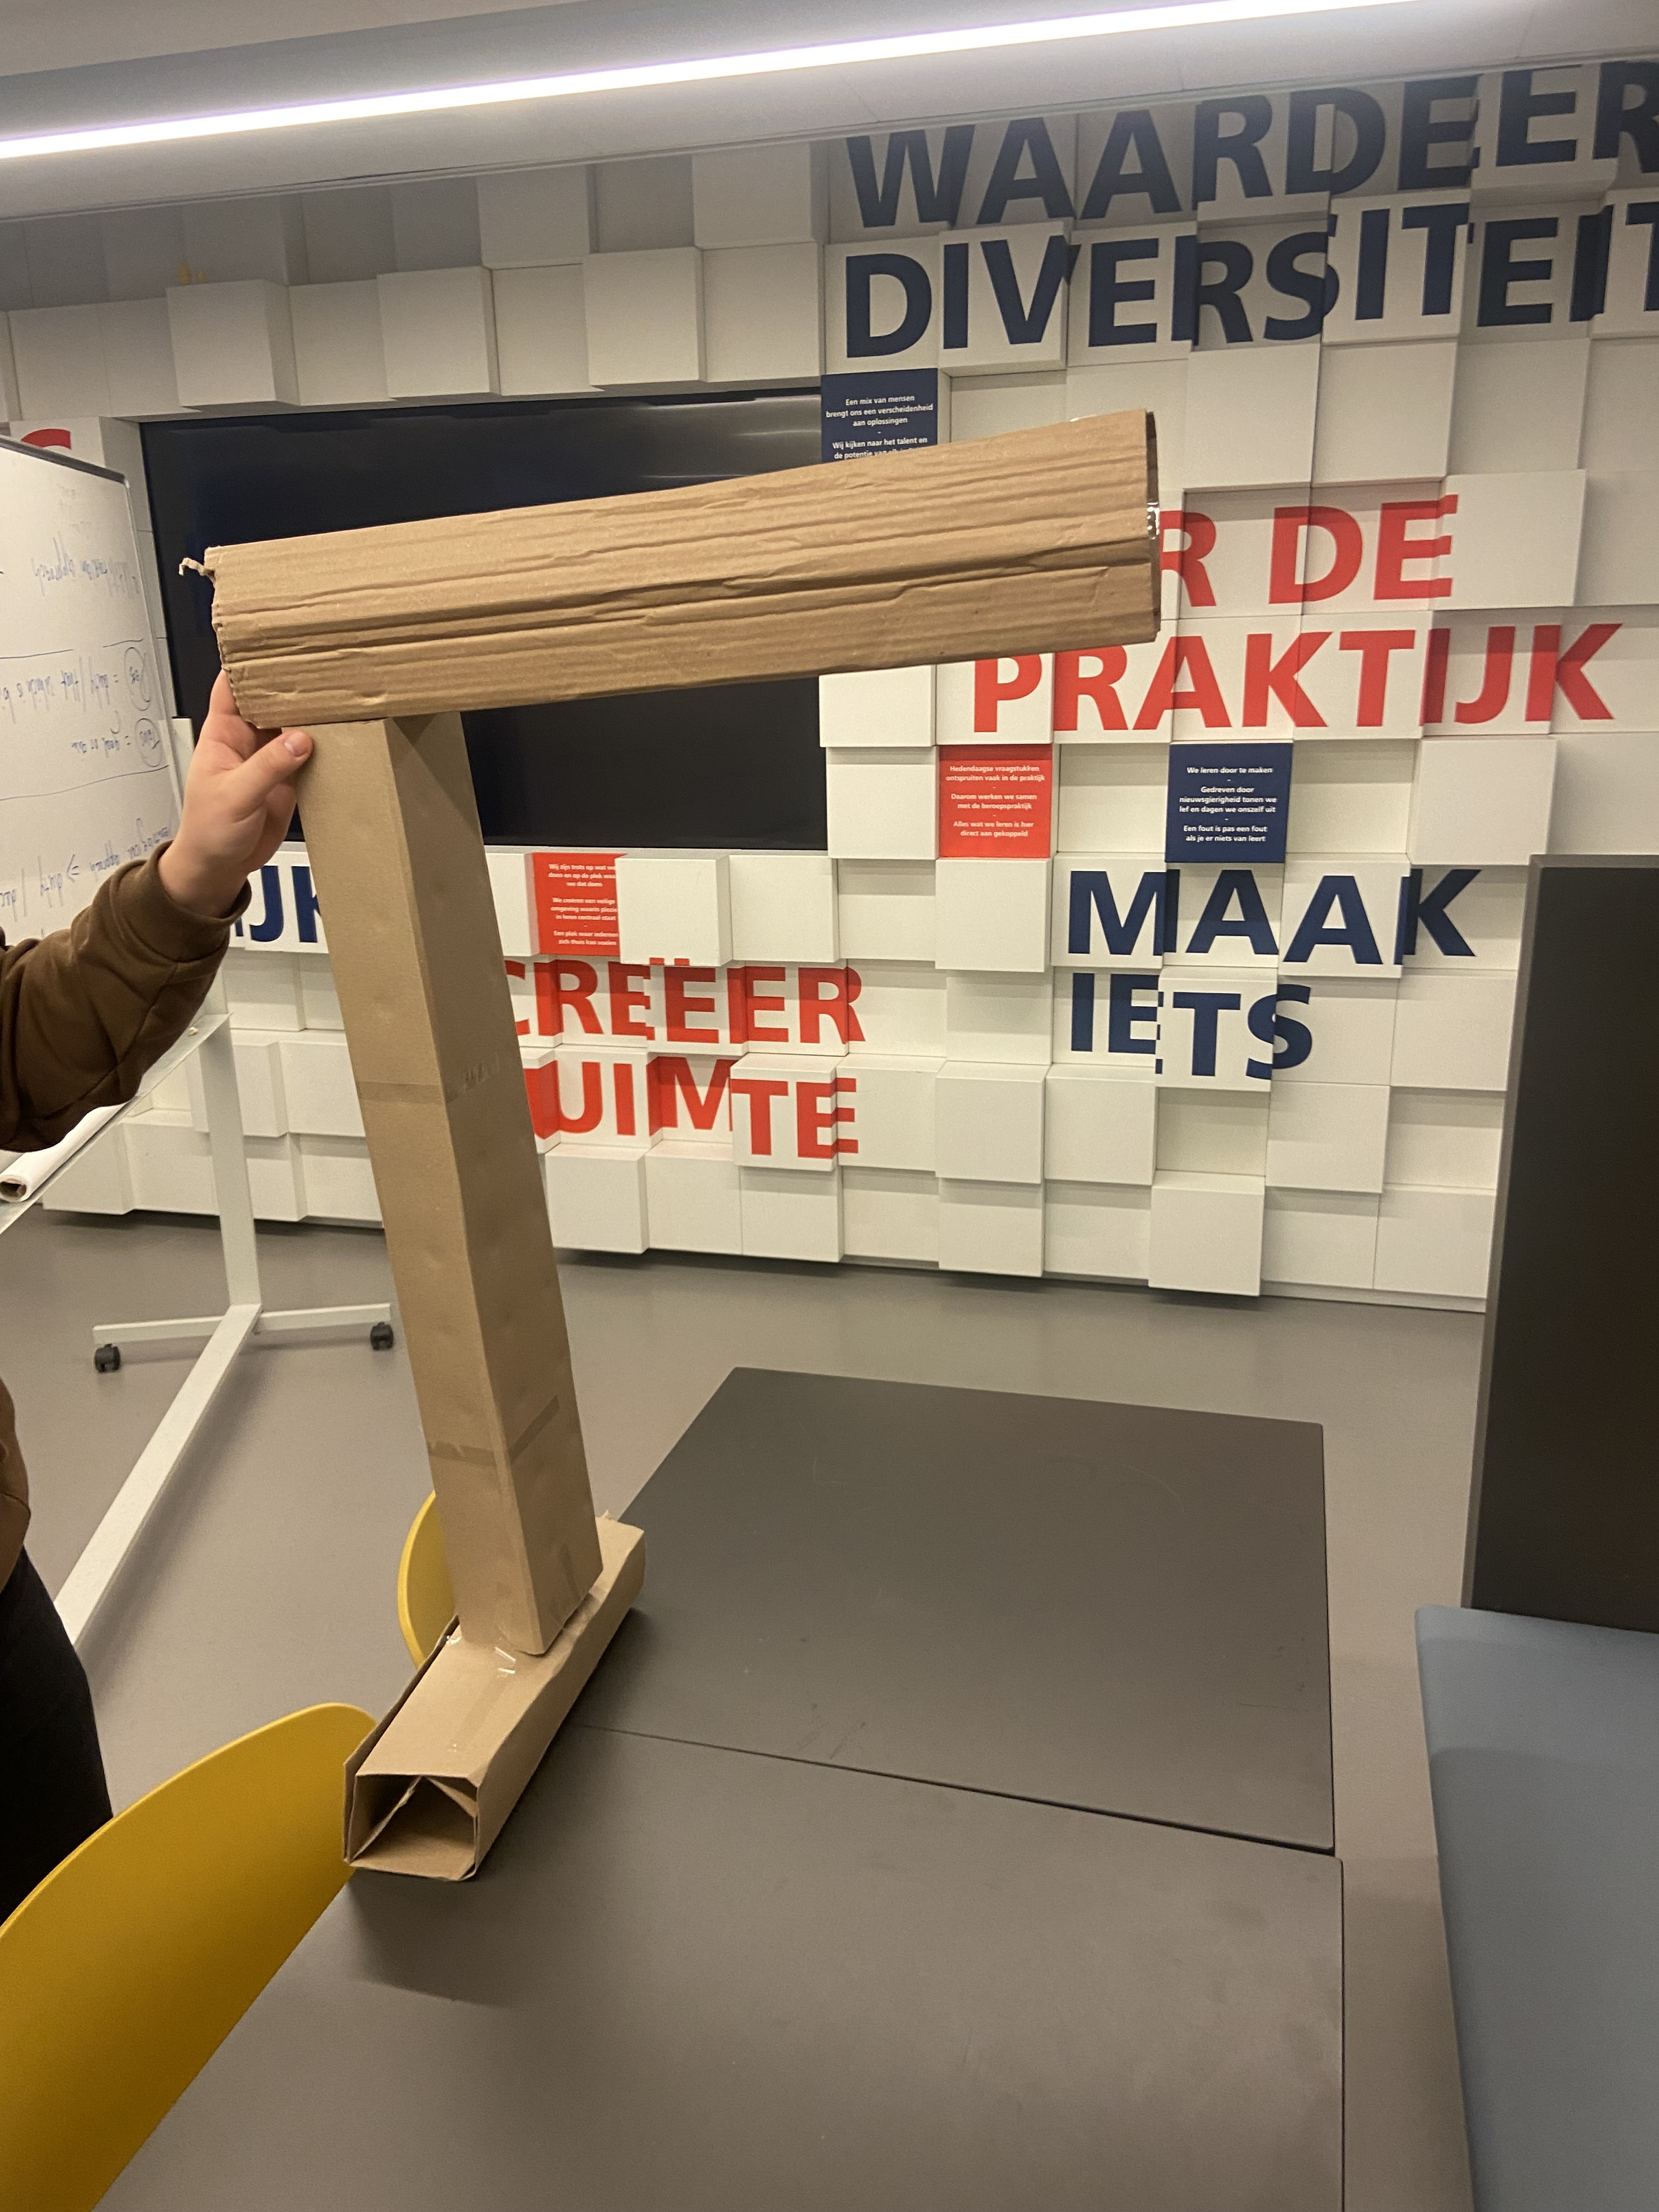
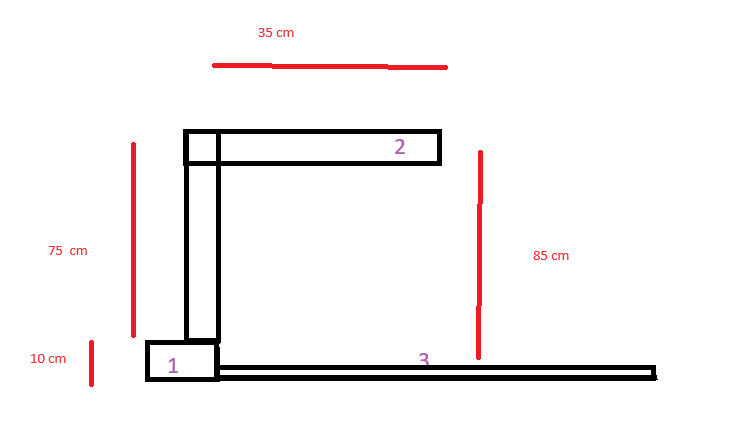
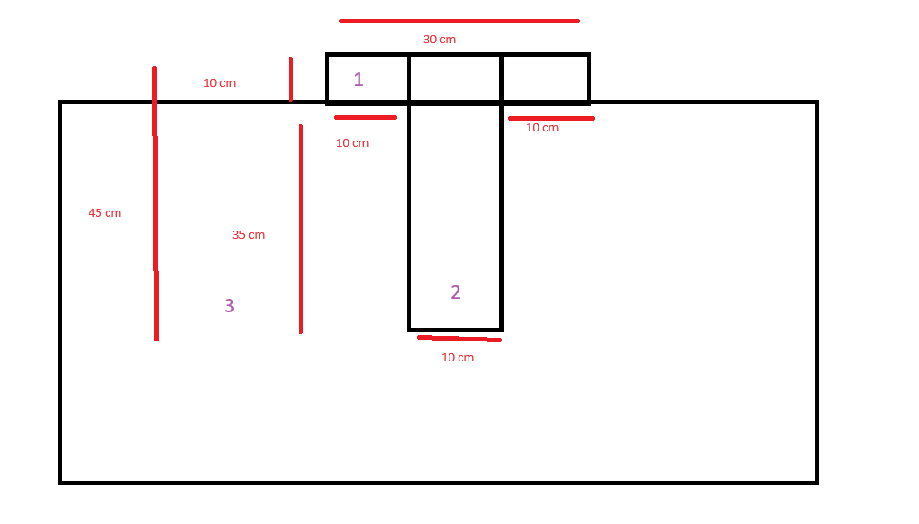
Trying to use a library
After looking around on the internet I've found this library, it makes the creation of lasercutting designs a lot easier as it allows you to properly visualise lasercutting prints and allows you to turn your work into a flat, cuttable slab once youre done.
1 2 | |
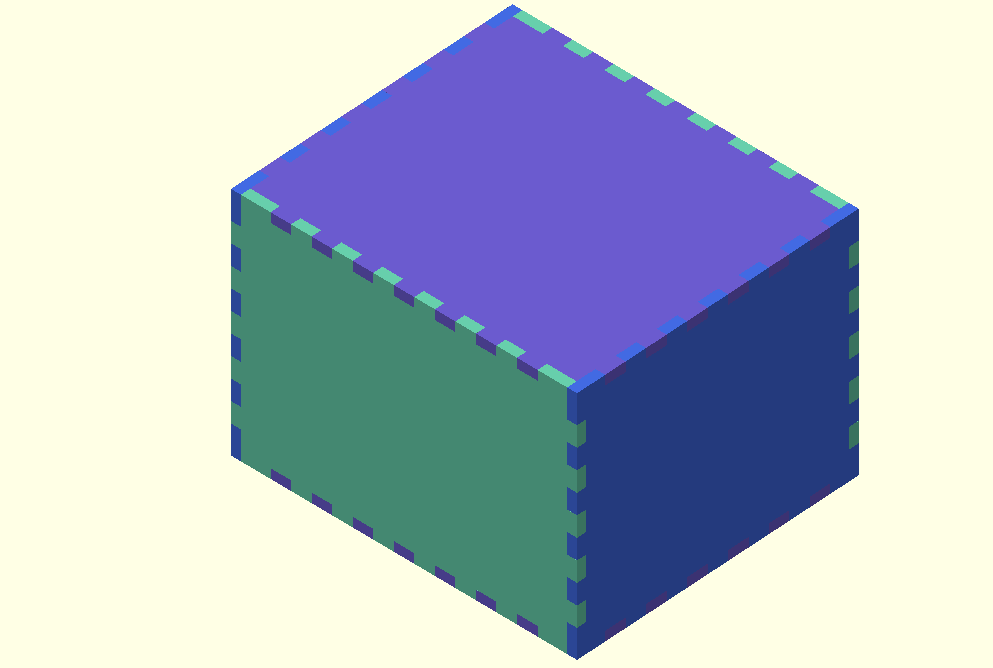
Changing the true into a false...
1 2 | |
Results in this!
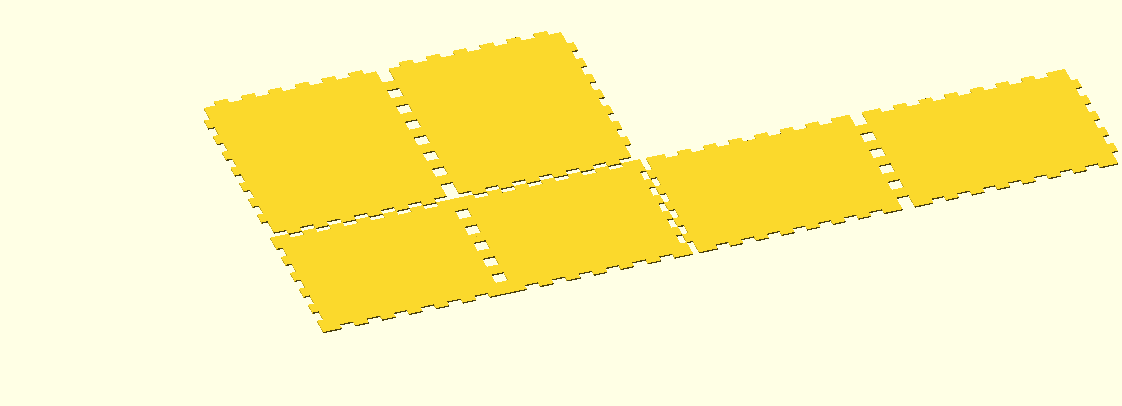
The only problem with using this library is that other than some basic boxes and small cabinets it doesnt really allow the user to create complex designs. Sadly, in the context of this project, this library will not suffice.
Doing it by hand
After finding out that the chosen library just wont work for what im trying to do I've decided to make it manually in openScad.
After a lot of measuring in thinking I've ended up with these shapes which should be all the shapes needed to create the designs.
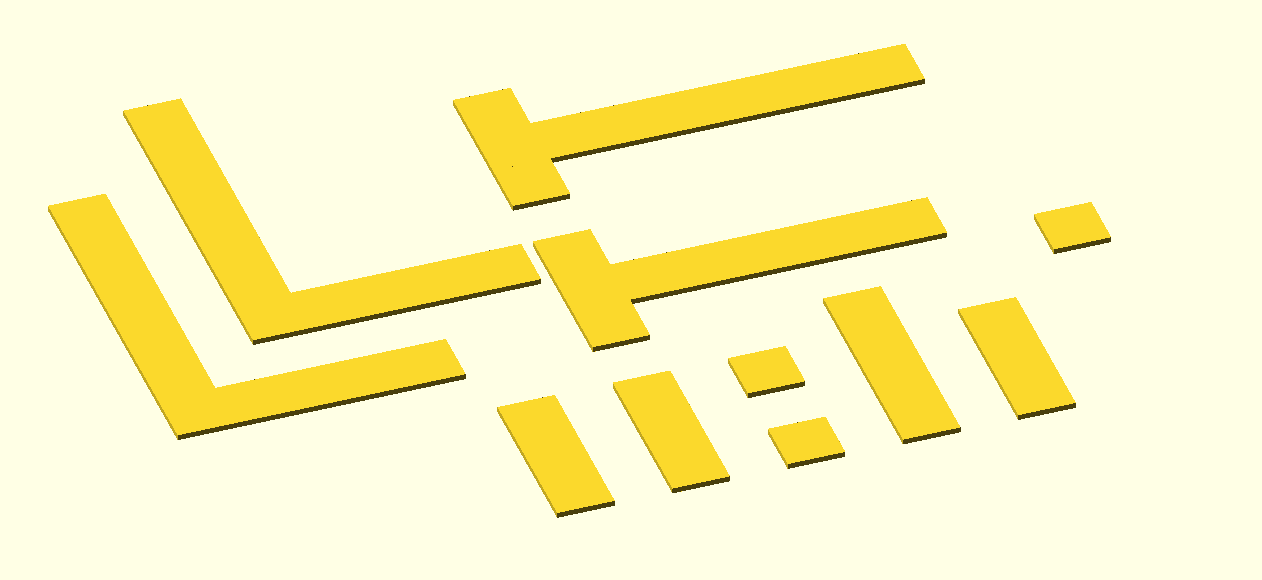
I now have a design which can be printed and glued together. I will not be doing this however as the product owner has requested us to just buy a camera stand from the action.
Issue 306 As a developer I want to understand how data is being send between the karts and the mqtt server
Server side
After having a lot of problems trying to make the system work using websockets, I had decided to try and use a process called mqtt, which makes systems connect to a server and then subscribe to a specific topic, in the case of this project I have chosen to connect to a public server named HiveMQ and subscribe to a topic named "nietBelangrijkeNlBroker/led", using a spublic server can lead to problems with data transfer as other people can subscribe to the same topic as you and both send and receive data to/from your systems. Due to our budget and the fact that if your topic is obscure enough, no one will find your topic, I have decided that HiveMQ is okay for this project.
Once a system has subscribed to a topic, it can either send data to it or listen on the topic for incoming data, which is perfect for this project as the server doesnt need to listen to the carts and the carts dont need to send anything to the server.
1 2 3 4 5 6 7 8 9 10 11 12 13 14 15 16 17 18 19 20 21 22 23 24 25 26 27 28 29 30 31 32 33 34 35 36 37 38 39 40 41 | |
Here's a basic server script that I made to test transferring data to the topic.
Using the code seen below, the data can be received and printed to the console.
1 2 3 4 5 6 7 8 9 10 11 12 13 14 15 16 17 18 19 20 | |
Kart side
On the kart side, practically the same thing happens
1 2 3 4 5 6 7 8 9 10 11 12 13 14 15 16 17 18 19 20 21 22 23 24 25 26 27 28 29 30 31 32 33 34 35 36 37 38 39 40 41 42 43 44 45 46 47 48 49 50 51 52 53 54 55 56 57 58 59 60 61 62 63 64 65 66 67 68 69 70 71 72 73 74 75 76 77 78 79 80 81 82 83 84 85 86 87 88 89 90 91 92 93 94 95 96 97 98 99 100 101 102 103 104 105 106 107 108 109 110 111 112 113 114 115 116 | |
Now this might seem like a lot but in reality all that happens is that the arduino makes a connects to the server, subscribes to the topic and then starts a loop where it just keeps on listening for data and once the data is received, it will move x steps with its right motor and y steps with its left motor where x and y are the values for movementRight and movementLeft.
Issue 377 How do you measure the angle between two moving objects so that one object faces the other.
measuring the angle between two moving objects is fairly simple, it boils down to just using the proper sin-cos-tan in your calculation.
things are easier with a visualiser, so here's a drawing explaining the whole thing.
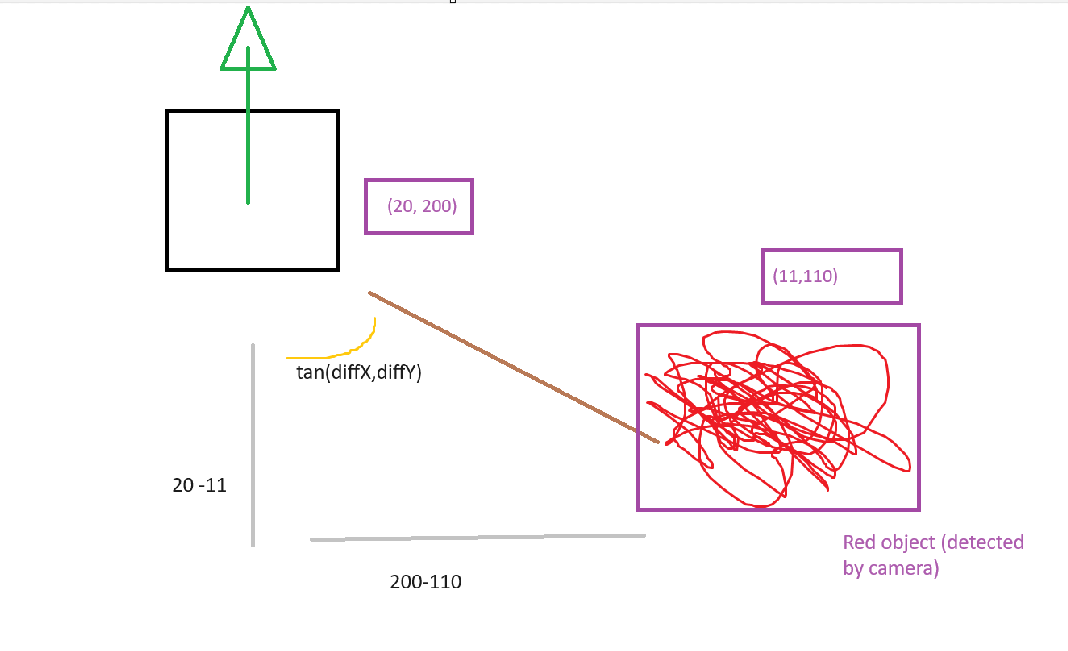
As you can see we have two coords, that of the the square, in this case representing an aruco marker and that of the red scribble, representing a red scribble. Using those two coordinates we can calculate tan using this simple function.
1 2 3 4 5 6 | |
This, however is not enough for our project as we want the aruco marker to face the object. So this is how the function ultimately is implemented.
1 | |
Issue 383 Why didnt the websocket connection between the wemos and the python server work?
What is a websocket connection
A websocket connection consists of two parts. - The Server - The Clients
In this case our python application would have been the server and the wemos carts would have been the clients.
The server listens for incoming connection requests on a specified link and port and once a clients sends one of those requests, the server accepts them resulting in a connection through which data can be send.
The server can either be hosted locally, which means that all the clients and the server need to be on the same network or it can be hosted on a remote server. If done that way, the server and clients can be on different networks. In the scope of this project (although we asked for it on multiple times) we do not have acces to our own server/ router.
HVA WIFI
We quickly realised that our first and biggest problem was going to be the hva wifi system.
We have access to two main wifi servers at the HVA
- Eduroam, for our computers.
- Iotroam, for the wemos devices.
Computers cant connect to Iotroam and wemos devices cant connect to Eduroam. Meaning that the server cant be deployed locally.
Which means we will have to deploy the server through another service, we got recommended NGROK, more info on that can be found in the first user story of this file. Forwarding our server through ngrok worked with other computers on different networks, however, it did not work with our wemos.
It is also good to note that two teachers have told me on two seperate occasions that the hva wifi has very strict package menagement when it comes to sending data over the wifi network. This resulted in me switching over to use an MQTT structure. When I told this to a different teacher he told me that this shouldnt be problem so now I'm not entire sure what is and what isnt true.
Other situations
In a normal situation, our project would be setup in a retirement home or in a hospital, thus, wouldnt have the same wifi problems as we had in the hva. Which means the whole thing could be deployed locally. Which I actually did get to work.
Most likely problem
There are three things that I can think could be the problem.
- The library that I use on the wemos wants a port number, NGROK doesnt give you a port number.
- The port number that the server uses (7890) is already used on the hva or is blocked on the hva.
- The link to which the wemos could connect using NGROK is https and the wemos doesnt support that, however, in my python test script i use a ws:// version of the link which the wemos doesnt accept either.
Its good to note that the wemos NEVER gave an error when I tried to connect.
Issue 417 How do I calculate the distance between two objects detected by the camera?
Calculating the distance between two objects detected by the camera is relatively easy.
First the detected object needs to be stored in an array
py```
for contour in red_contours: area = cv2.contourArea(contour) if area > areaMax: x, y, w, h = cv2.boundingRect(contour) red_areas_with_coords.append((x + w // 2, y + h // 2)) cv2.rectangle(img, (x, y), (x + w, y + h), (blue), 2) cv2.putText(img, "Red", (x, y - 10), cv2.FONT_HERSHEY_SIMPLEX, 0.5, (blue), 2)
for coords in red_areas_with_coords: red_x, red_y = coords cv2.putText(img, f"Red: ({red_x}, {red_y})", (red_x, red_y), cv2.FONT_HERSHEY_SIMPLEX, 0.4, (blue), 1) print(f"[Red Area] Coordinates: ({red_x}, {red_y})")
1 | |
1 2 3 4 5 6 7 8 9 10 11 12 13 14 15 16 17 18 19 | |
The function looks like this
1 2 3 | |
Issue 420 What was going wrong with the carts which resulted in them not being able to drive?
After a lot of fighting with websockets and mqtt brokers, we finally got the carts (wemos devices/ clients) to receive data from the camera. The only problem was that, once the data was received, the cart wouldnt move forward.
The function that gets called is listed below.
1 2 3 4 5 6 7 8 9 10 11 12 13 14 15 16 17 18 19 20 21 22 23 24 25 26 27 28 29 | |
The output of the cart would be everything you'd expect (connecting to wifi, connected, connecting to the mqtt server, connected, data received) and it printed "Moving steppers forward" but it didnt move.
We tried calling the move functions in the main loop, without the mqtt data and that did work, it was just that as soon as we called it in the callback function it didnt work.
We thought that maybe the problem was with the mqtt library that we were using. The thing was however that if we called a function that lit up the lamp on the wemos it did blink.
So the mqtt code was correct, as well as the code to make the wheels move...
Which meant that the problem lied with the wheels itself. After a stressfull night of soldering and fine tuning, Calvin changed the wheels on the serial bus (haha) to com motors and this resulted in the cart finally being able to move.
